
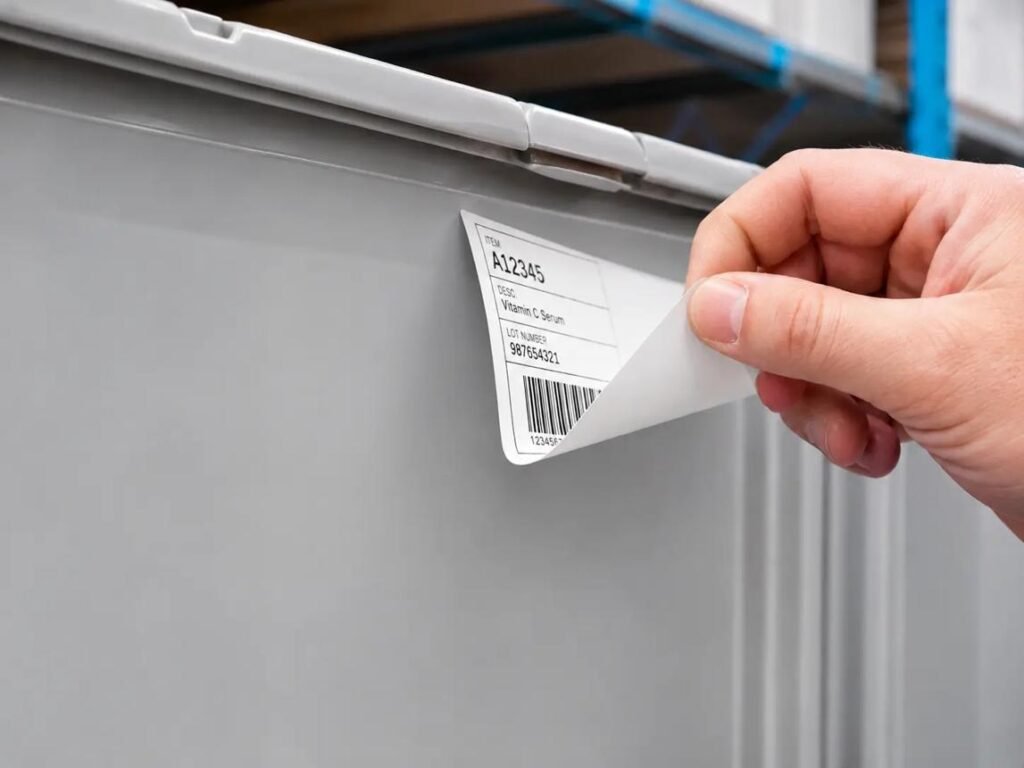
Use a smooth, high-quality thermal label that fits a flat area on the product while preserving the barcode’s required size, height, contrast, and quiet zones. For small labels or dense data, a 300 dpi printer is often preferable, but the barcode design and application surface matter as much as the printer resolution.
Do not start by choosing the smallest available label. Start with the required data and symbology, determine the smallest barcode that remains compliant and scannable, add human-readable text and margins, and then select a label size that contains the complete layout.
Which Barcode Type Should You Use?
Use the symbology required by the retailer, marketplace, laboratory, warehouse, or internal system. UPC and EAN symbols are common for retail products; Code 128 is efficient for many internal identifiers; Data Matrix and QR codes can hold more data in a compact square.
Do not switch symbologies only to save space without confirming scanner and software support. Encode only necessary data. Long text makes linear symbols wider and makes two-dimensional symbols denser, increasing the minimum practical size.
How Small Can the Barcode Be?
Every symbology has dimensional rules, including narrow-element or module size, symbol height, and quiet zones. The printer must reproduce these elements as whole dots. A barcode that is mathematically present but below the scanner’s practical limit will cause intermittent failures.
Use barcode software that understands the target printer resolution and standard. Keep the symbol at or above the specified magnification. When space is limited, remove unnecessary text or select appropriate packaging rather than distorting the barcode.
Should You Choose 203 or 300 DPI?
Use 203 dpi when the label has enough room for a reasonably large barcode and text. Use 300 dpi when the physical label is small, the data is dense, or fine characters are required. Higher resolution gives more valid dot combinations for narrow bars and small modules.
Generate the artwork natively for the chosen resolution. Do not reuse a low-resolution bitmap or scale a screenshot. Print worst-case data at production speed and verify the applied label with real scanners before committing to hardware or a large media order.
Which Facestock Produces the Best Image?
Smooth direct thermal paper is economical for short-life indoor product identification. A topcoat improves resistance to handling and limited moisture. Direct thermal synthetic film adds tear and water resistance, while thermal-transfer synthetic material is often better for long life, chemicals, heat, and abrasion.
Match label stock to the required readable period. A small label is handled near its entire surface, so rubbing and fingerprints can be more significant than on a large shipping label. Test the image after normal packing and use.
Which Adhesive Works on Small Products?
Small containers often have curved, textured, or low-surface-energy surfaces. The label has less adhesive area, while stiffness creates strong edge-lifting forces. Use a conformable facestock and adhesive tested on the exact glass, metal, plastic, paperboard, or coated surface.
Consider application temperature, service temperature, moisture, oils, and whether clean removal is required. Permanent, removable, freezer-grade, and high-tack adhesives solve different problems. Apply samples around the tightest curve and inspect after the full dwell time.
How Much Quiet Zone Is Needed?
The quiet zone is blank space around the barcode that helps scanners recognize its boundaries. Its required width depends on the symbology. Treat it as part of the barcode, not unused space available for text, borders, or logos.
Keep quiet zones away from die-cut edges, package graphics, seams, and transparent areas showing dark content underneath. After application, confirm that curvature and neighboring design elements do not reduce the visible margin.
Where Should the Label Be Placed?
Choose the flattest, most accessible area and keep the symbol away from corners, caps, seals, and strong curvature. On cylindrical products, barcode orientation can affect scanning because the scanner may not see all bars at once. Test both orientation and position.
Do not bridge the label across two panels. If the product is too small, label an approved pouch, carton, card, or hang tag. The correct packaging surface is usually more reliable than forcing an undersized symbol onto the product.
How Do Colors and Gloss Affect Scanning?
Black bars or modules on a white matte background provide dependable contrast. Dark, metallic, transparent, patterned, or highly glossy surfaces can reduce scanner performance. Preprinted color should remain outside the barcode and quiet zones unless formally verified.
Direct thermal imaging is normally black, but excessive heat can gray the background or widen bars. Use the lowest darkness that creates solid features. Evaluate glare after any laminate or clear overwrap is applied.
How Should Small Labels Be Printed and Inspected?
Clean the printhead and platen, calibrate the media sensor, and load the roll squarely. Start at moderate speed. Print the longest identifier and densest 2D code in the product range. Inspect with magnification for missing dots, filled spaces, and clipped edges.
Scan samples from the beginning, middle, and end of the roll. Verify the decoded value, not only the scan tone. Include more than one printer and scanner model when the labels move through different facilities.
How Do Die Cutting and Liner Quality Affect Small Labels?
Small labels need consistent gaps, margins, and die-cut depth so the printer can sense and dispense each piece accurately. A die that cuts too deeply weakens the liner; a shallow cut leaves the label attached to the matrix. Adhesive ooze can contaminate guides and cause labels to lift before printing.
Inspect the full roll for registration and clean release, especially at production speed. Choose a liner strong enough for peeling but compatible with the printer’s sensor. The usable printable area should remain consistent so the barcode does not move toward a die-cut edge from one label to the next.
What Production Test Should Be Required?
- Print the final artwork with worst-case data.
- Apply it to the smallest and most curved product.
- Allow the adhesive to reach the required dwell time.
- Expose it to expected handling, temperature, moisture, and abrasion.
- Verify barcode quality and successful decoding again.
Record failures by cause: print, design, adhesive, placement, or scanner. Give the label maker the printer resolution, speed, symbology, minimum elements, facestock, adhesive, roll details, product samples, and environment. Approve the smallest label that passes the entire process consistently, not the smallest label that prints once.